A personal reference guide covers battery and charger compatibility across five Mekitor cordless tools: a 16-inch electric chainsaw, a 6-inch mini chainsaw, a grass cutter, a cordless drill, and electric pruning shears. All tools use a universal slot design but require either a fat or slim battery, depending on power demand.
The guide distinguishes between the two battery types by shape and intended use, and cautions against using mismatched chargers, which can reduce efficiency or cause damage. A compatibility table and storage tips are included, with notes indicating that some pairings are still being confirmed in the product documentation.
My Mekitor Cordless Tools: Battery, Charger & Tool Reference Guide
Keeping track of multiple cordless tools, batteries, and chargers can quickly become confusing — especially when everything looks similar and lives in the same box. This page is my personal reference guide for all my Mekitor cordless tools, so whenever I am unsure which battery or charger belongs to which machine, I come back here first.
My Mekitor Cordless Tools Overview
Here is a quick list of the tools I am working with:
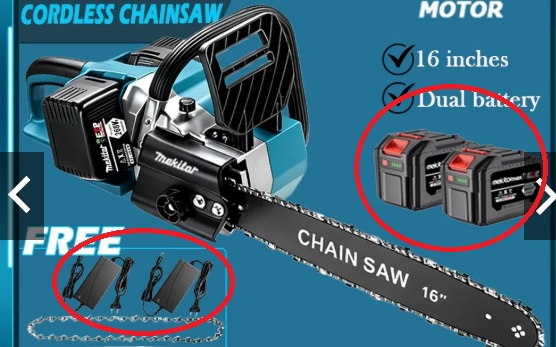
- Electric Chainsaw 16 inch — Mekitor brand
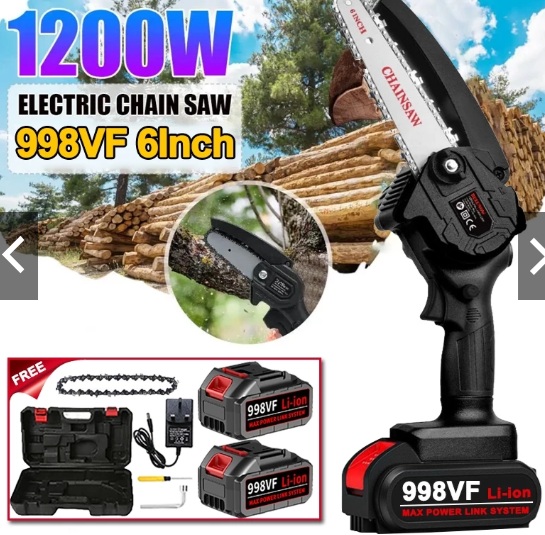
- 6-inch Electric Mini Chain Saw — Mekitor brand
- Grass Cutter — Mekitor brand
- Cordless Drill — Mekitor brand
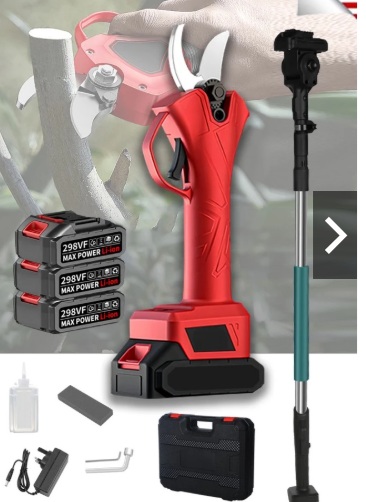
- Electric Pruning Shears — Mekitor brand
All of these tools use Mekitor-compatible batteries that slot directly into the machines. The good news is that the batteries share a universal slot design across the range. The challenge is that I have two different battery types — fat and slim — stored together in a single box, along with multiple charger types. Without a reference, it is easy to grab the wrong one.
Understanding the Two Battery Types
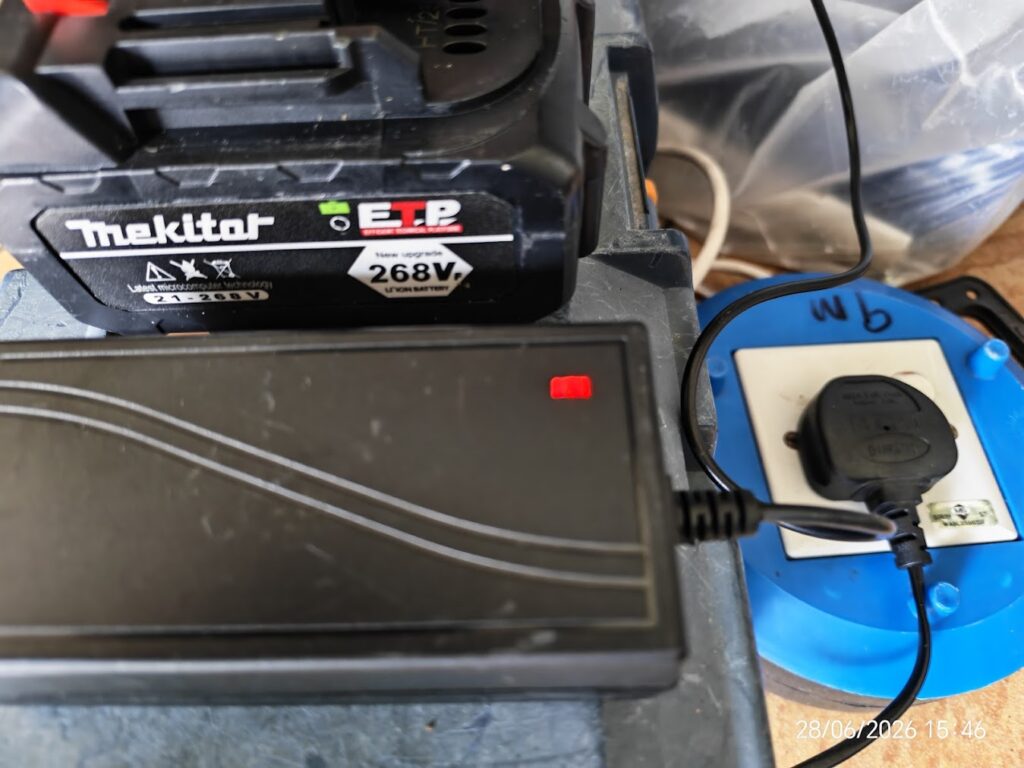
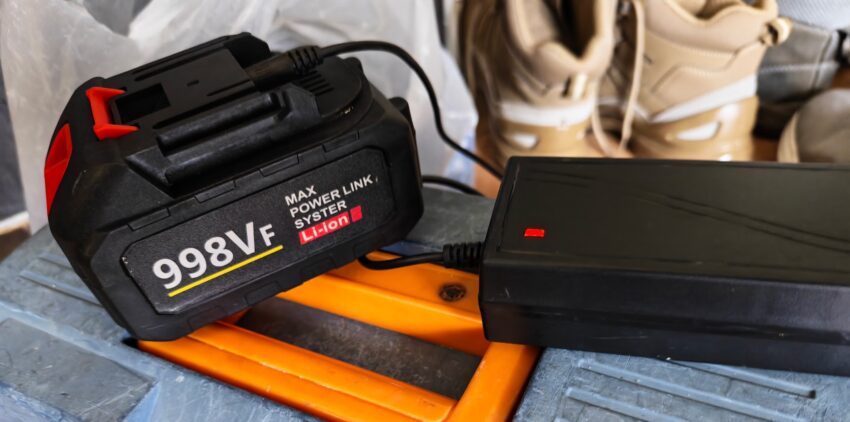
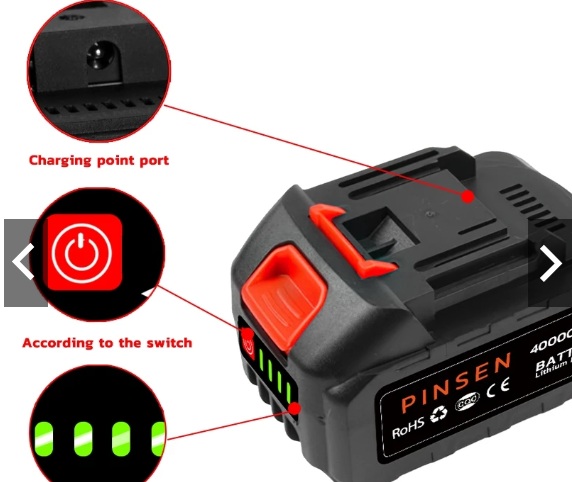
Fat Battery
The fat battery is the larger, bulkier one. It generally holds a higher capacity and is used for the more power-hungry tools. Check the product images on this page to visually identify the fat battery and confirm which tools it pairs with.
Slim Battery
The slim battery is the thinner, lighter option. It is typically used with lighter-duty tools or as a secondary backup. Again, refer to the product images attached to this page for a visual comparison.
Quick tip: When in doubt, look at the battery housing shape before forcing it into any slot. Both types will slot into compatible Mekitor tools, but matching the right battery ensures the best performance and protects battery life.
Which Charger Goes With Which Battery?
This is where I have made mistakes before — plugging the wrong charger into a battery. While the Mekitor system is designed to be compatible across tools, the chargers are not always interchangeable, and using the wrong one can affect charging efficiency or potentially damage the battery over time.
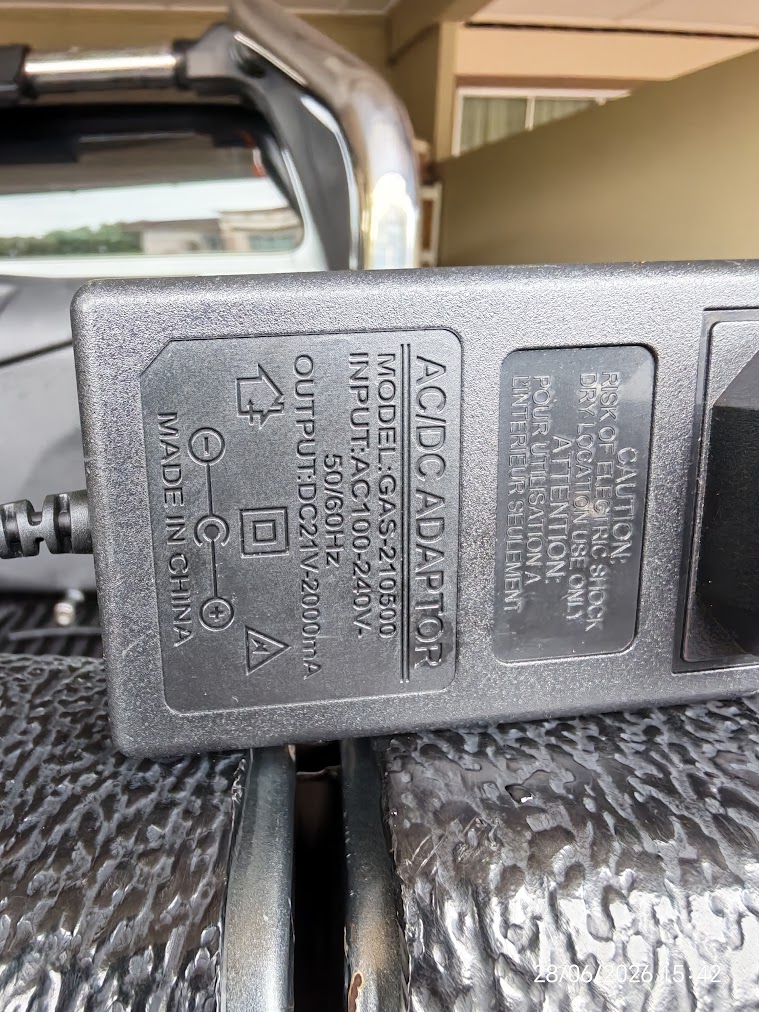
Charger Identification Guide
Refer to the product images displayed on this page for a side-by-side visual of each charger. As a general reminder:
- Check the charger label for the voltage and current output before plugging in.
- Match the charger shape and port to the corresponding battery.
- If two chargers look nearly identical, read the small print on the label — the amperage rating will differ.
- Keep chargers labelled or stored separately once you have confirmed which is which.
I will update this section with specific charger-to-battery pairings as I confirm each one from the product documentation.
Tool-by-Tool Battery Reference
| Tool | Battery Type | Notes |
|---|---|---|
| 16-inch Electric Chainsaw | Fat Battery | High power demand — use fully charged fat battery |
| 6-inch Mini Chain Saw | Slim or Fat Battery | Confirm with product image on this page |
| Grass Cutter | Slim or Fat Battery | Check slot compatibility before inserting |
| Cordless Drill | Slim Battery | Lighter use — slim battery works well |
| Electric Pruning Shears | Slim Battery | Low draw — slim battery is sufficient |
Note: This table will be updated as I test and confirm each pairing.
Storage Tips to Avoid Confusion
Since everything goes into one box, here is how I try to stay organised:
- Store fat and slim batteries in separate zip-lock bags or sections of the box.
- Label each charger with a small piece of masking tape indicating which battery type it belongs to.
- Always return tools, batteries, and chargers to the same spot after use.
- Refer back to this page whenever something looks unfamiliar.
Final Note
This page exists purely as a personal quick-reference guide. The product images attached here are the fastest way to visually confirm battery and charger types at a glance. I will continue updating this guide as I add more tools or discover new information about the Mekitor battery system.
Images